How to Wiki the Nika Way - On the Wiki (part 2)
Continuing from part 1...
You can also put font styling on the text. You know, bold, italic, underline, that stuff?
You saw the bold face on the last part.
You can also do that on the content text.
You can either go HTML style and use the <b></b> bold tag...
... or you can put three apostrophes ( ' ) around the text you want to make bold.
Note: If you're gonna go HTML style, new line is <br> tag. Wiki won't follow paragraph spacing if you use HTML tagging for the next.


Italicizing text also goes two ways, either two apostrophes or the <i></i> tag.


Five apostrophes combines both bold and italic.
Underlining though only works with the <u></u> tag, although on Wikipedia, it suggests not to or else it'll be confused for links.
Okay let's set text aside.
"How do you put the links? How do you upload the pictures and put them on the content?"
Well, as an editor, you have that Special Pages link. Look for the Upload File link and upload the pictures you want. Unfortunately, it only accepts one at a time, so it takes patience to upload, especially when you have a bunch of screenshots to upload. *barf*
Don't worry though. I'll provide links in another post, okay? :D
If you want to see the file conventions the wiki set up for the pictures, there's a File List link too in the Special Pages.
NOW to use the picture, let's go back to my /ok gif.

So I attached the picture using the [[file:<filename>]] convention. The filename can be found on the file list.
If you want to link to an external link, the syntax is:
[[(complete link) text]]
The space is required so the wiki can recognize it as a hyperlinked text.
If you want to link to another page on the wiki, the syntax is:
[[(page title)#(section)|text]]
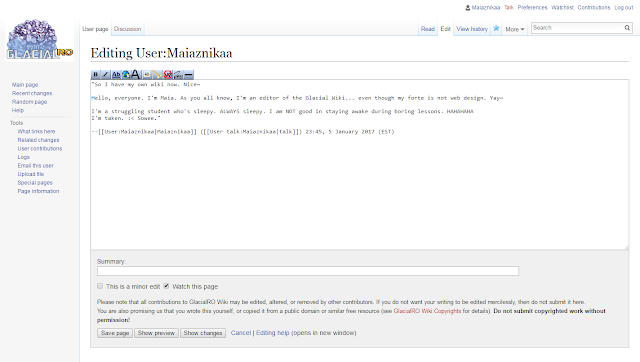
Example is below (taken from the main page editing section).

"How do you resize the picture?"
Resizing the picture is in pixels. It will adjust based on the width of the picture.
For example...

The syntax for that is:
[[File:<filename>|pixels|thumb*|alignment^|caption**]]
* If you want the picture to appear as a thumbnail, you can specify thumb in the syntax.
** If you want to add the caption under the picture then okay ^_^
^ Alignment is left, right, center.
That's it for writing the syntax. Now some tips:
- Make the wiki like a booklet of information. You're not supposed to make it sound like the wiki is talking to the person.
- Choose your pixels wisely.
- If I missed anything here, you can just ask me. I'll answer your question.
- Keep the words minimal. Sometimes, a one-sentence explanation is enough.
- Consider the audience when you're making content for the wiki.
- Don't be afraid to press Show Preview. It's not an "Are you sure?" kind of wiki. It gives you infinite chances to preview the page before making it official.
- It's okay to edit the pages that other people made, so long as you don't ruin their code.
- If you're not sure on how to deliver it like a wiki should... think of yourself as the reader and base the content on that. It works almost every time.
Now that I have gone over the tips... it's time for some real talk... on the next post.
Cheers!
~Nika

Comments
Post a Comment